This Article Applies from:
DeMeter2.9.1 | Other Applicable Versions |
Introduction
This article is intended to explain the purpose of DeMeter connectors, which connectors/data sources are available to the DeMeter software platform and how to add/manage them.
TABLE OF CONTENTSIntroduction4 - Adding Connectors 4.2 - Controller Connectors4.2.1 - Desoutter Controller Connectors |
1 - Suggested readings
We recommend to first read through the following articles if you are either new to DeMeter, or unfamiliar with the software suite:
- Discover DeMeter via this presentation.
- Discover DeMeter architecture.
- DeMeter installation procedure.
- Accessing DeMeter configurator.
2 - Definition
A connector is any source device that the DeMeter Service(s) can use to dynamically generate data. The amount of data collected from each connector varies depending on version of software/version and connectors being used.
3 - Supported Connectors
| Group/Type | Device/Connector | Image | Overall OK/NOK | Production Details | Alerts/Calls | Extra Notes/Comments |
| Database | CVI Net Web Database |  | Microsoft SQL Server Databases Only. | |||
Controllers | AXON |  | See here for versions compatibility | |||
| Connect - Industrial Smart Hub |  | |||||
| CVI3 Tool Controller |  | |||||
| Open Protocol Controller | | | | DeMeter can retrieve tightening data from any controller supporting Open Protocol: see the pre-requisites here. | ||
| MQTT Compatible controllers | | | | Available with DeMeter V2.13.1 | ||
| Pivotware | Infinity Client |  |
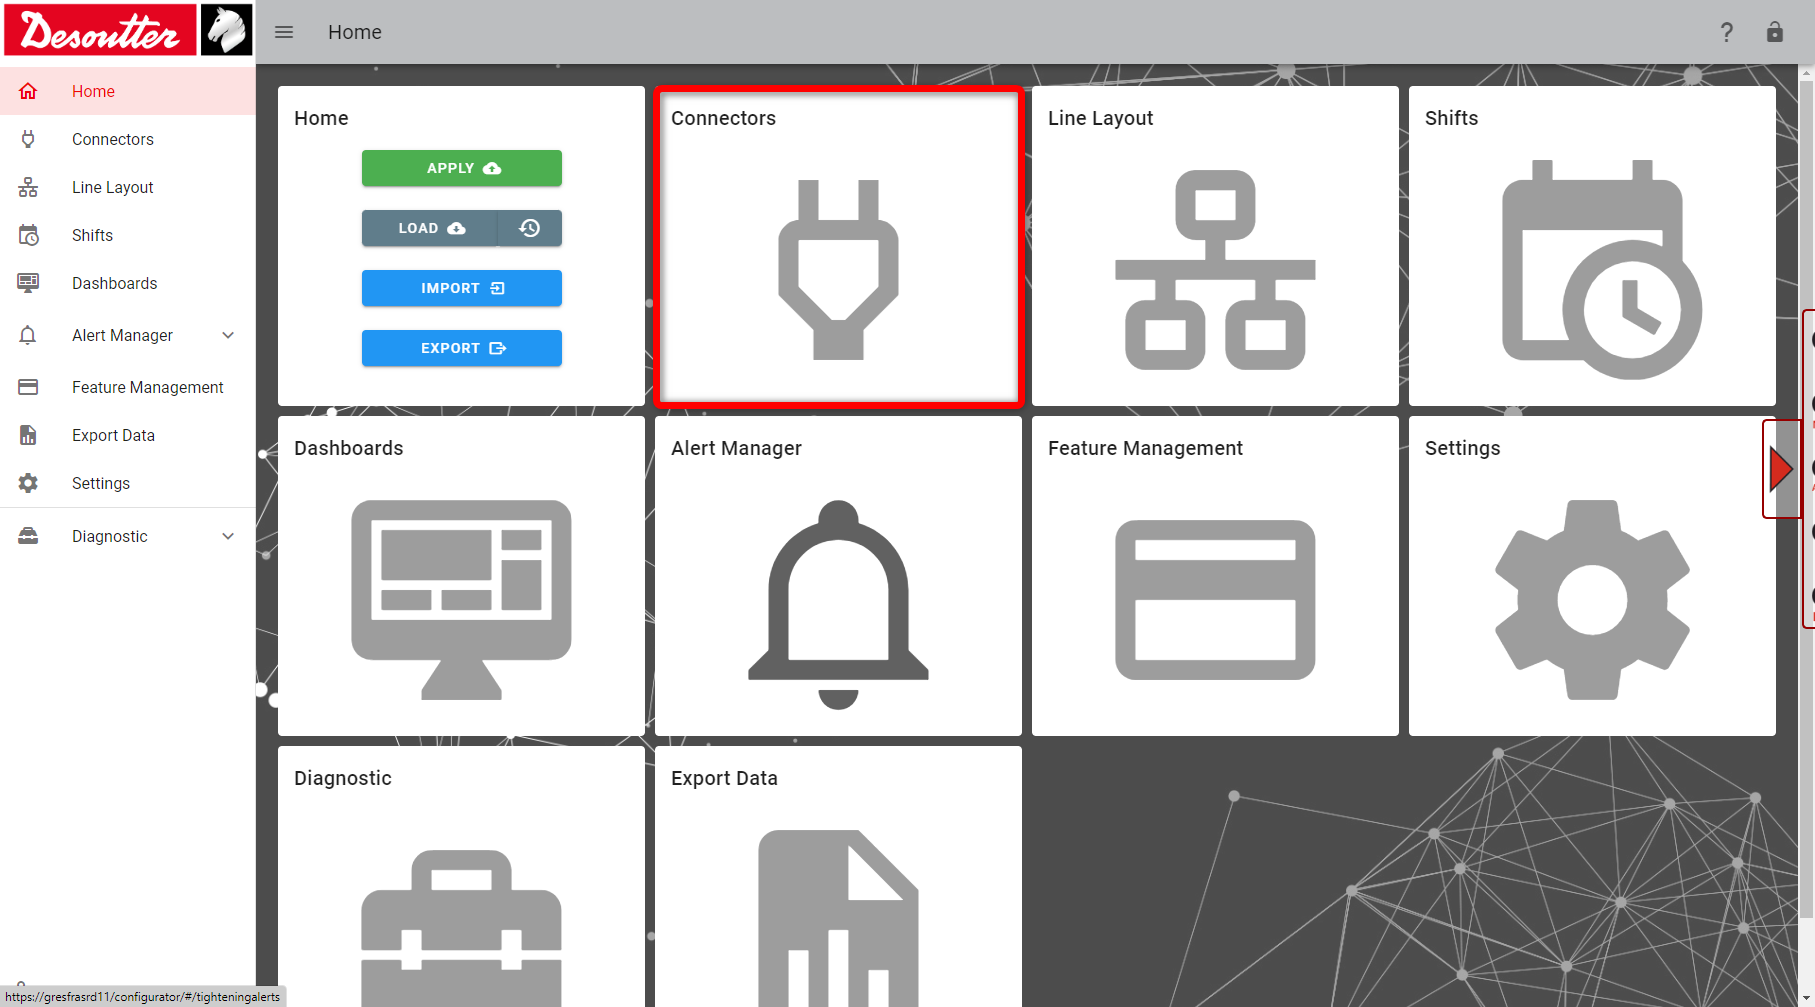
4 - Adding Connectors
Open DeMeter configurator then click on the Connectors icon.
4.1 - Database Connectors
To add a Database connector, click on the "Add Connector" button then select the CVINet option in the Connector Type.

After the properties have loaded, enter your Microsoft SQL Server details as well login credentials for the applicable database.

- CVINet Name = The label name for this database connector.
- Server address = The address of Microsoft SQL Server storing the CVI Net Web database.
- Database name = The name of the CVI Net Web database being imported.
- User name = SQL Authenticated User name that has access to the CVI Net Web database.
- Password = SQL Authenticated User password that has access to the CVI Net Web database.
After having enter the database connector details, click "Test Connection" to verify that the connection information is usable. You'll see the following pop-up if the connection test was successful.
 After having successfully connected to the database, click "Import Tightening Products" to import any active controllers found in the database as well as any tightening units that they have attached to them. You'll see the following pop-up stating the number of tightening products imported:

Click 'Save' in the top-right hand corner to save your settings.
 | Only controllers marked as "Allowed" in CVI Net Web database are imported by the DeMeter Configurator. |
4.2 - Controller Connectors
4.2.1 - Desoutter Controller Connectors
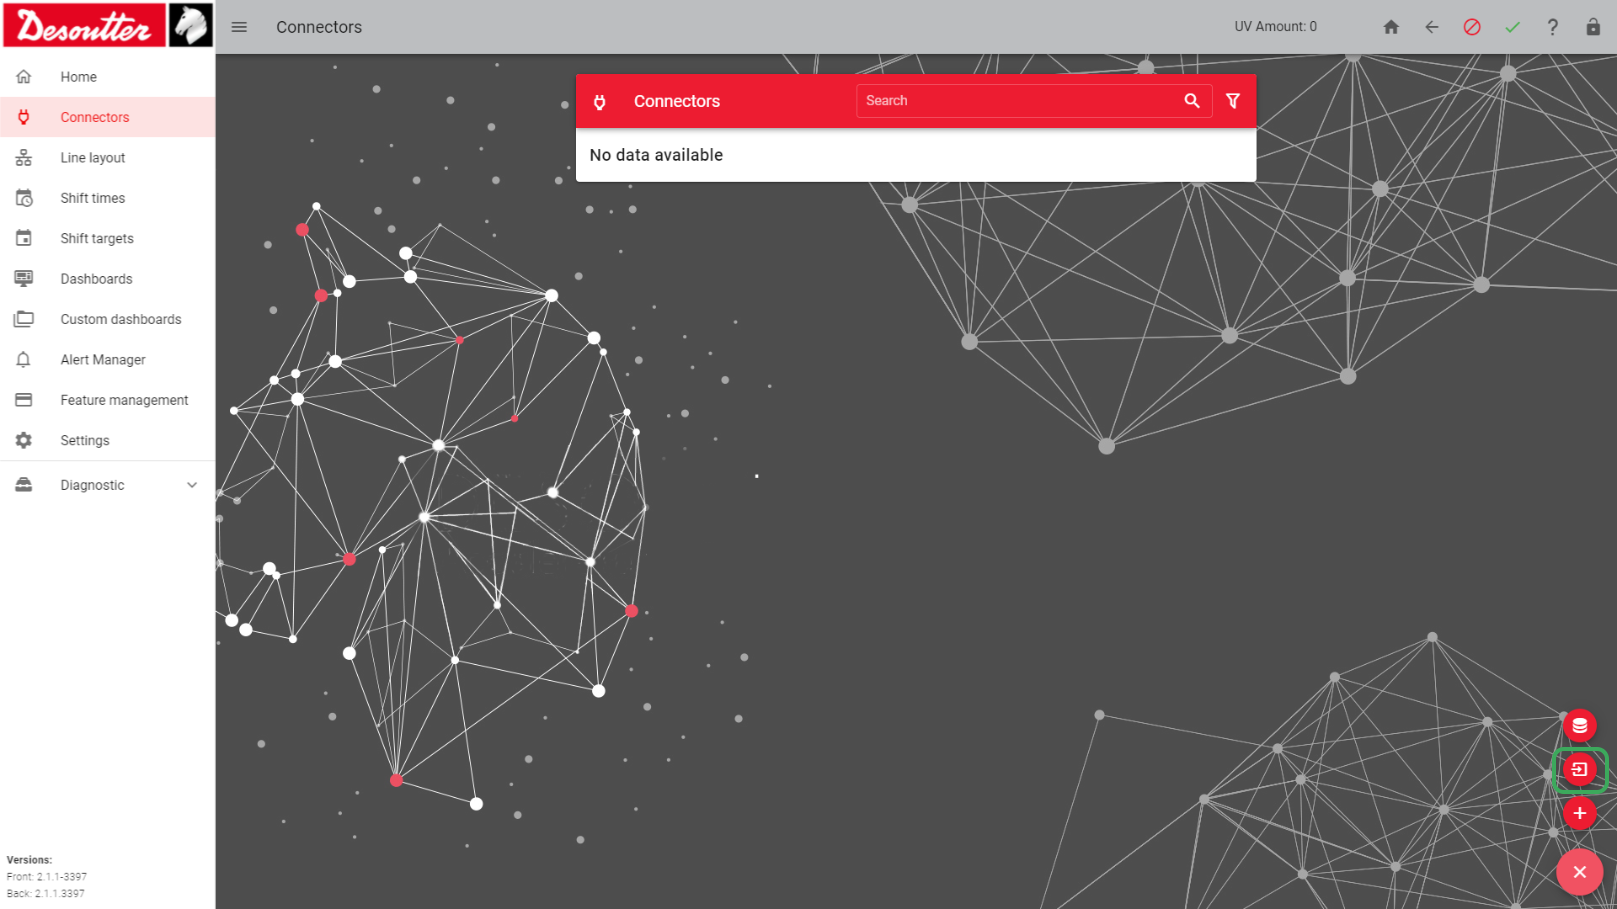
To add a number of Desoutter controller connector, click on the "Import from CVI Config" button.

Select a .db file that has been created by CVI Config and click "Open"

After having successfully selected a valid .db file, any active controllers found in the file with a valid DeMeter ID will be imported as well as any tightening units that they have attached to them. You'll see the following pop-up stating the number of tightening products imported
Click 'Save' in the top-right hand corner to save your settings.
| Please read through this article detailing the procedure to setup your controllers for DeMeter. |
4.2.2 - Open Protocol Controller Connectors
To add an Open Protocol connector, click on the "Add Connector" button then select the Open Protocol option in the Connector Type.
For the time being, the Device Type option is limited to Tightening Product.
Fill in the network connection details in the IP address and Open Protocol port.

Click 'Save' in the top-right hand corner to save your settings.
This process needs to be repeated for all controllers at your factory floor that can send tightening to DeMeter.
4.3 - Pivotware Connectors
To add a Pivotware connector, click on the "Import Station(s) from a .fps file" button.
Select a .fps file that has been created by CVI Fusion and click "Open".

After having successfully selected a valid .fps file, any Infinity Client Stations found in the file will be imported. You'll see the following pop-up stating that stations successfully imported:

Click 'Save' in the top-right hand corner to save your settings.
| Please read through this article for the procedure to setup Pivotware for DeMeter. |
4.4 - Applying your changes
Once you have added all the necessary connectors and saved the changes, go back to the Home page.
Provide the Configurator password then click Apply.

Wait for the message New configuration applied to appear. From this moment onward, all the setup connectors are ready for operation.
5 - Managing Connectors
After connectors have been imported into the DeMeter Configuration, users can define if the connector should have DeMeter data collected or not by settings the "enable" status.

By clicking on a connector directly, users can view their properties and make changes directly inside of the configurator without reimporting from the data source.
 Users can change label names, connection details and reimport as needed. Users can change label names, connection details and reimport as needed. |  Users can change label names and enable/disable individual tightening unit data collection. Users can change label names and enable/disable individual tightening unit data collection. |  User can change label names. User can change label names. |
When users wish to retrieve alerts (by direct connection) and tightening results by CVI Net Web database data source for the same controller, you will see the same controller is imported more than once causing an unnecessary additional UV Cost. You can use the link button to merge two controller connectors together:
 Before: 90 UV Before: 90 UV |  After: 70 UV After: 70 UV |
6 - Further readings
We recommend reading the following articles to further discover how to use and configure DeMeter: